Fashion

  • You Need These 7 Tools For Your Natural and Curly Hair

    You Need These 7 Tools For Your Natural and Curly Hair!

    This post includes affiliate links.

    If you wear your hair natural, you know that there are a few products that you often use to style and care for your hair. I recently posted a video tutorial on Instagram, and based on the comments, I realized that we need to talk more about the natural hair tools because they make all the difference in how our hair looks. I’ve been natural now for ten years, and these are the hair tools I use regularly.

    Wide-tooth Comb for Detangling

    Before my hair was natural, I used the opposite, fine-tooth combs to style my straight hair, but since going natural, I’ve found wide-tooth combs to be the best option for detangling my hair. I always section my hair and start detangling at the ends, then work my way up to the roots as the hair detangles.

    Sectioning Clips

    Whether you’re doing a braid-out, twist-out, or cornrows. You will need to section your hair. These alligator clips are great for sectioning your styling hair, and these butterfly clips are perfect for the same as well as detangling.

    Denman Brush

    A Denman brush is my go-to tool for smooth bouncing curls. It was one of the first products I purchased when I first went natural, and it’s lived up to the hype. Look at this video to see how I use my Denman Brush. Also, keep in mind that other brands make similar style brushes but I stick to the Demnan Brand.
    7 Tools For Your Natural and Curly Hair

    Diffuser or Diffuser Attachment

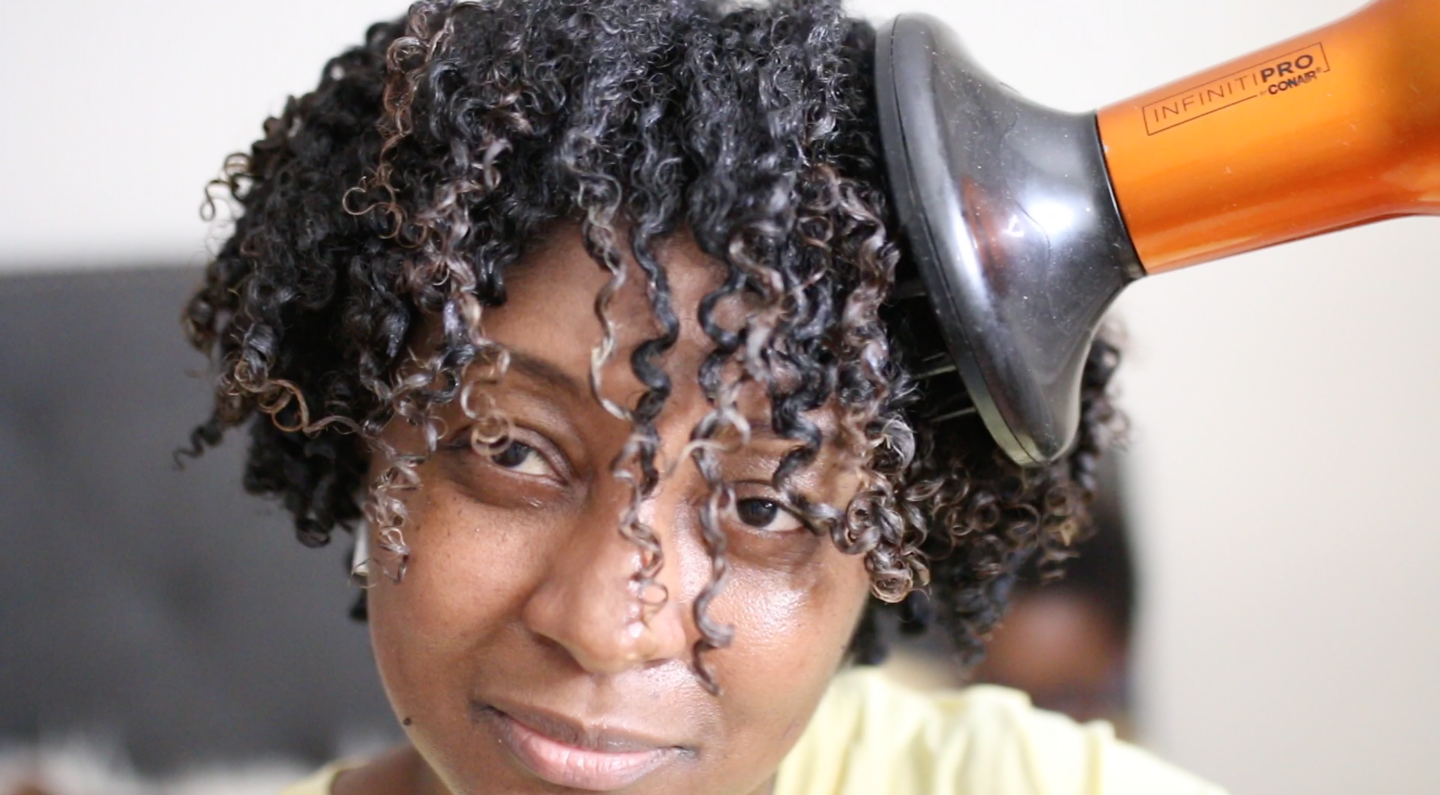
    A Diffuser hairdryer is another product that I’ve been using since I first went natural a decade ago and still use it regularly. A diffuser dryer allows me to dry my natural wash and go without ruining my style or drying out my hair. This is the Diffuser I currently use, and it’s so much better than the one I used for eight years, drying my hair in half the time. It’s also very inexpensive at less than $25. You can also buy a diffuser attachment for a blowdryer you already own, just ensure it’s compatible.

    Satin Pillowcase

    This is another must-have not just for your hair but also for your skin. A satin pillowcase is great because your hair doesn’t dry out at night, it doesn’t pull your strands out the way that a regular pillowcase would. This is my go-to for myself and my children. None of us use hair bonnets or scarves (the girls can’t keep those on) but before I got to this stage I did a combination of scarf and satin pillowcase.

    Fine-tooth Comb

    You’re still going to need a fine-tooth comb to part your hair, especially for cornrows just be sure to not use it to detangle your hair because it would damage your hair.

    Edges Brush

    After buying toothbrushes for years to slick down our edges, there are now Edges Brushes that we can purchase. I’ve been holding on tight to my toothbrush, but I’ll order one for the sake of review. I found this one on Amazon, and it’s only $7.

    Bonnet Hair Dryer

    So I can’t remember a time while growing up or as an adult that I didn’t have a bonnet hair dryer besides now. I used one for the first five years that I wore my hair natural for deep conditioning as well as drying my hair. It’s a great product to have on hand, but it’s also bulky, and I had nowhere to store it in my NYC apartment, so I got rid of it.

    Afro Pick Comb
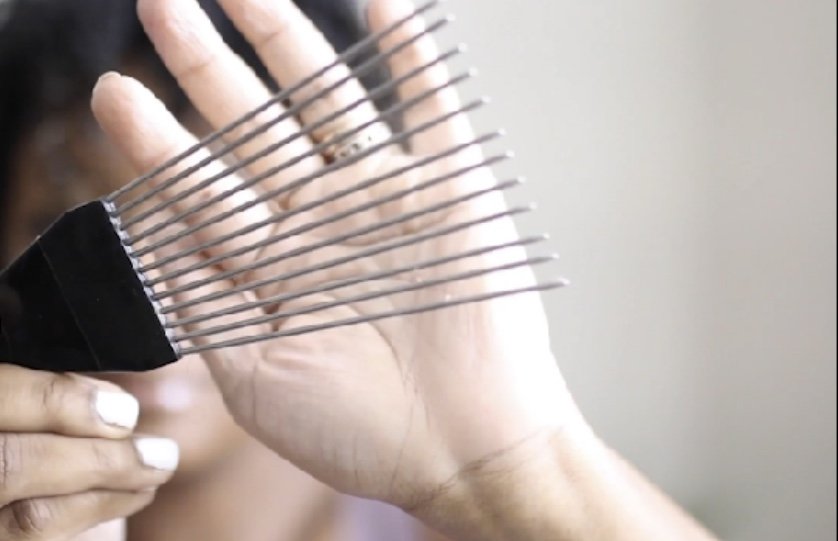
    Natural hair shrinks and flattens quickly whether you sit or lay for a while, so an afro pick comb is a must-have to shape and tease your hair to make it full and beautiful again.

    That’s all friends! I hope this post is helpful. Let me know your must-have hair tools for natural hair below. Make sure you’re following me on Instagram and TikTok for more natural hair tutorials.
  • How to Make a Leather Clutch Bag with Cricut Maker

    This is a sponsored conversation written by me on behalf of Cricut. The opinions and text are all mine.

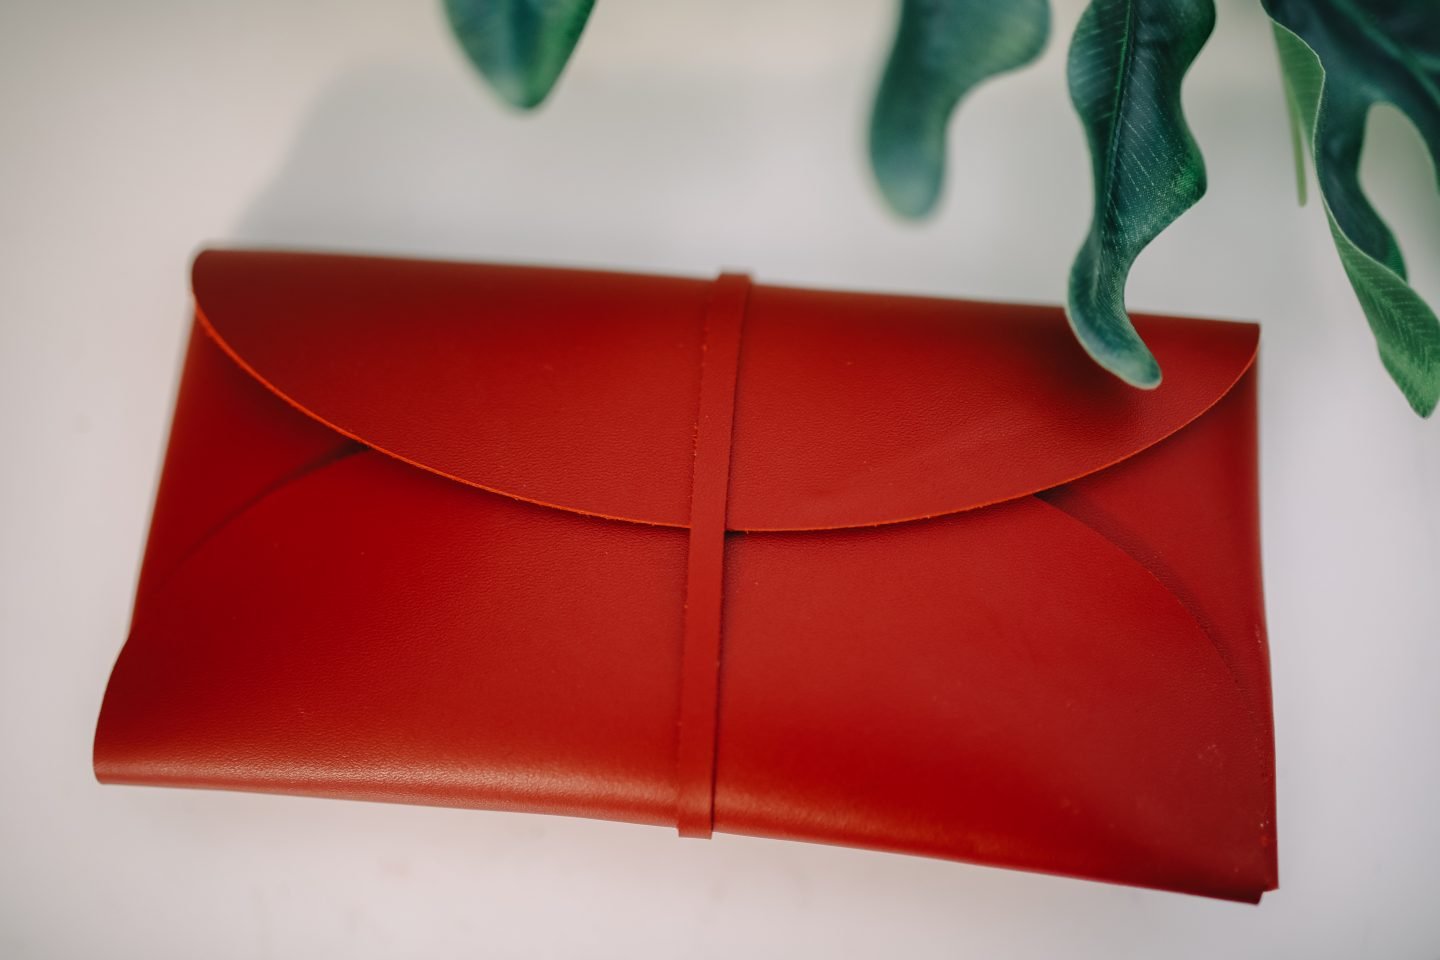
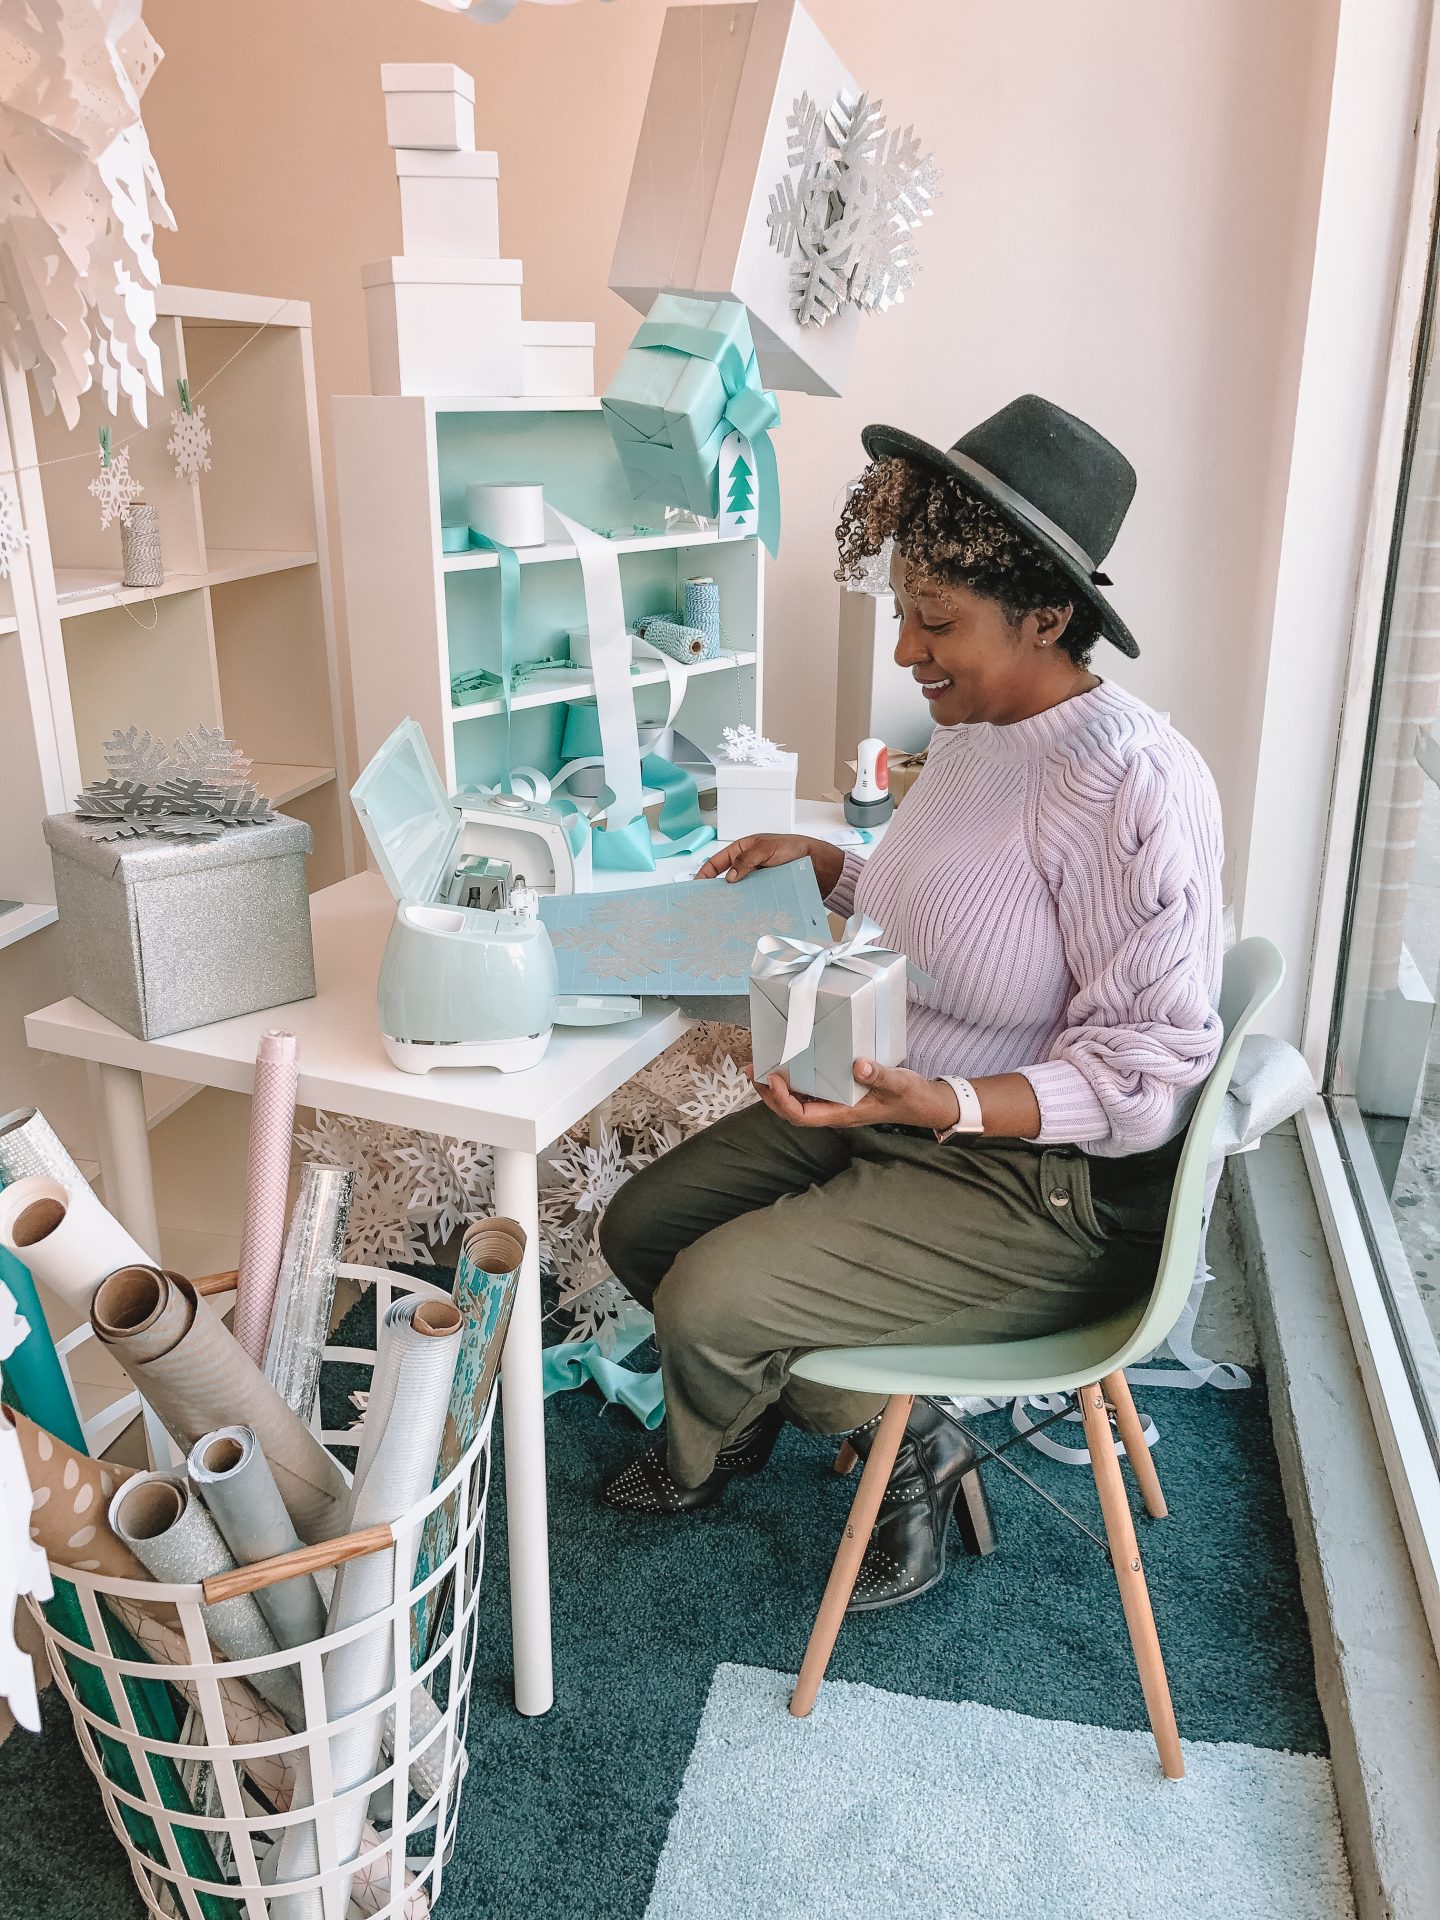
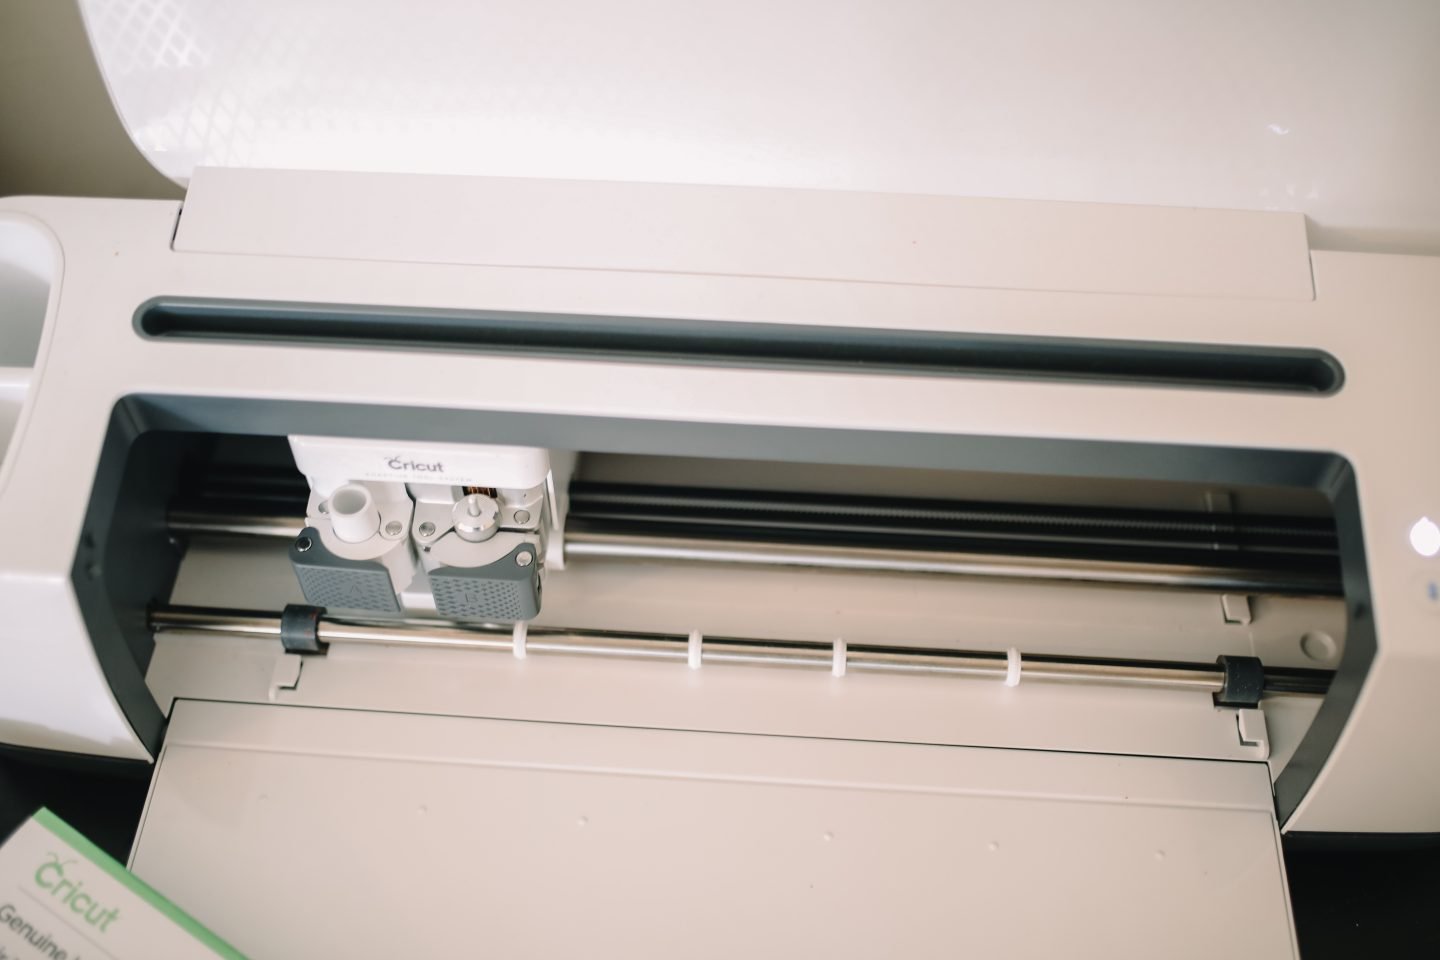
    It’s been a long time since I’ve had the chance to craft and I’ve been itching to do something creative. I’ve always wanted to make a leather clutch since I got my Cricut Maker machine and I finally had the chance to make one. This was an easy Cricut project which is perfect for me as I’m still a Cricut beginner so if you’re new to using Cricut, you will be able to make this one without any headache. Here’s how to make a leather clutch bag with Cricut Maker.

    Materials

    Easy Cricut Maker Clutch

    How to Make a Leather Clutch Bag with Cricut Maker:

    I posted a quick tutorial on TikTok, you can watch it here. But here’s the step by the step instructions.

    Easy Cricut Maker Clutch
    1. Open Cricut Design Space.
    2. Search “Fold Up Leather Case”.
    3. Select “Make it”, if you’re advanced you can choose to customize it.
    4. Select “Make it”.
    5. On the “Prepare it” page, select “Mirror me”.
    6. Select “Thin Leather”.
    7. Select “Scoring Wheel Tip Blade”.
    8. Attach the Cricut Genuine leather on a Cricut Standard Grip mat, face down.
    9. Follow the instructions in Cricut Design Space for the next steps to start cutting.
    10. Once cutting is completed, remove two pieces from the mat.
    11. Fold the leather material into the shape of the clutch.
    12. Add a little glue to the sides of the bottom of the clutch, be careful to ensure it doesn’t smudge.
    13. Press it or place a heavy item over it for a few minutes while the glue dries.
    14. Repeat on the other side.
    15. You can also glue the string wrap at the opening of your clutch.
    16. Allow drying.
    17. Voila! You have a new clutch bag.
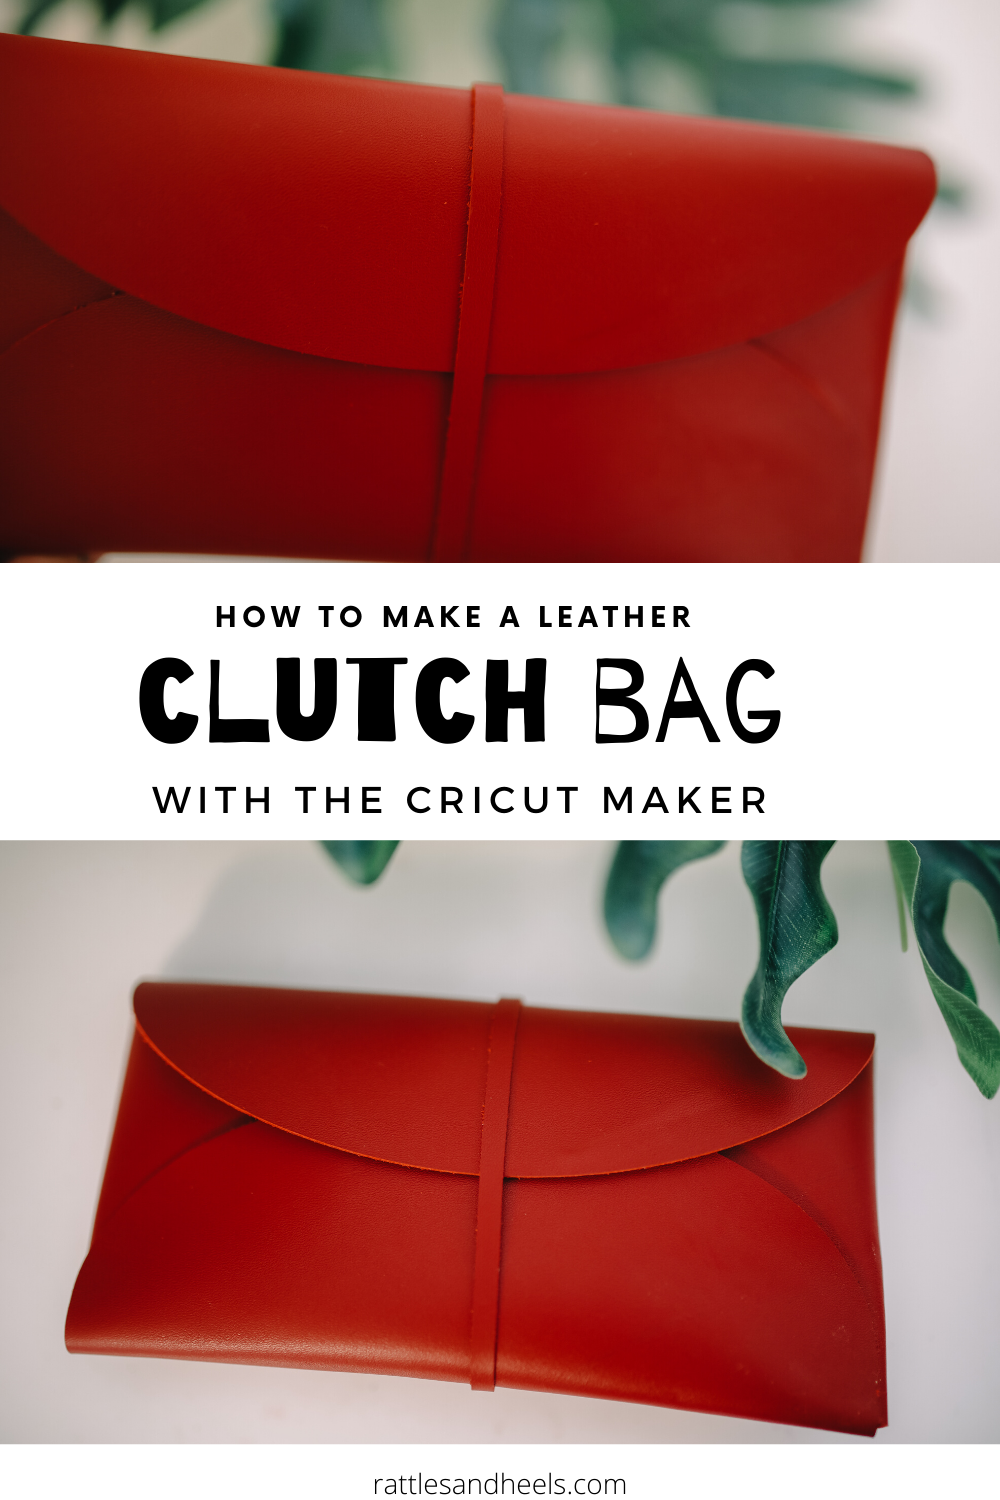
    How to Make a Leather Clutch Bag with Cricut Maker.

    I hope this tutorial of how to make a leather clutch bag with Cricut Maker was helpful and you enjoy crafting with your Cricut Maker machine. I’m going to be back with more of the fun projects we’re working on.

    You may also like:

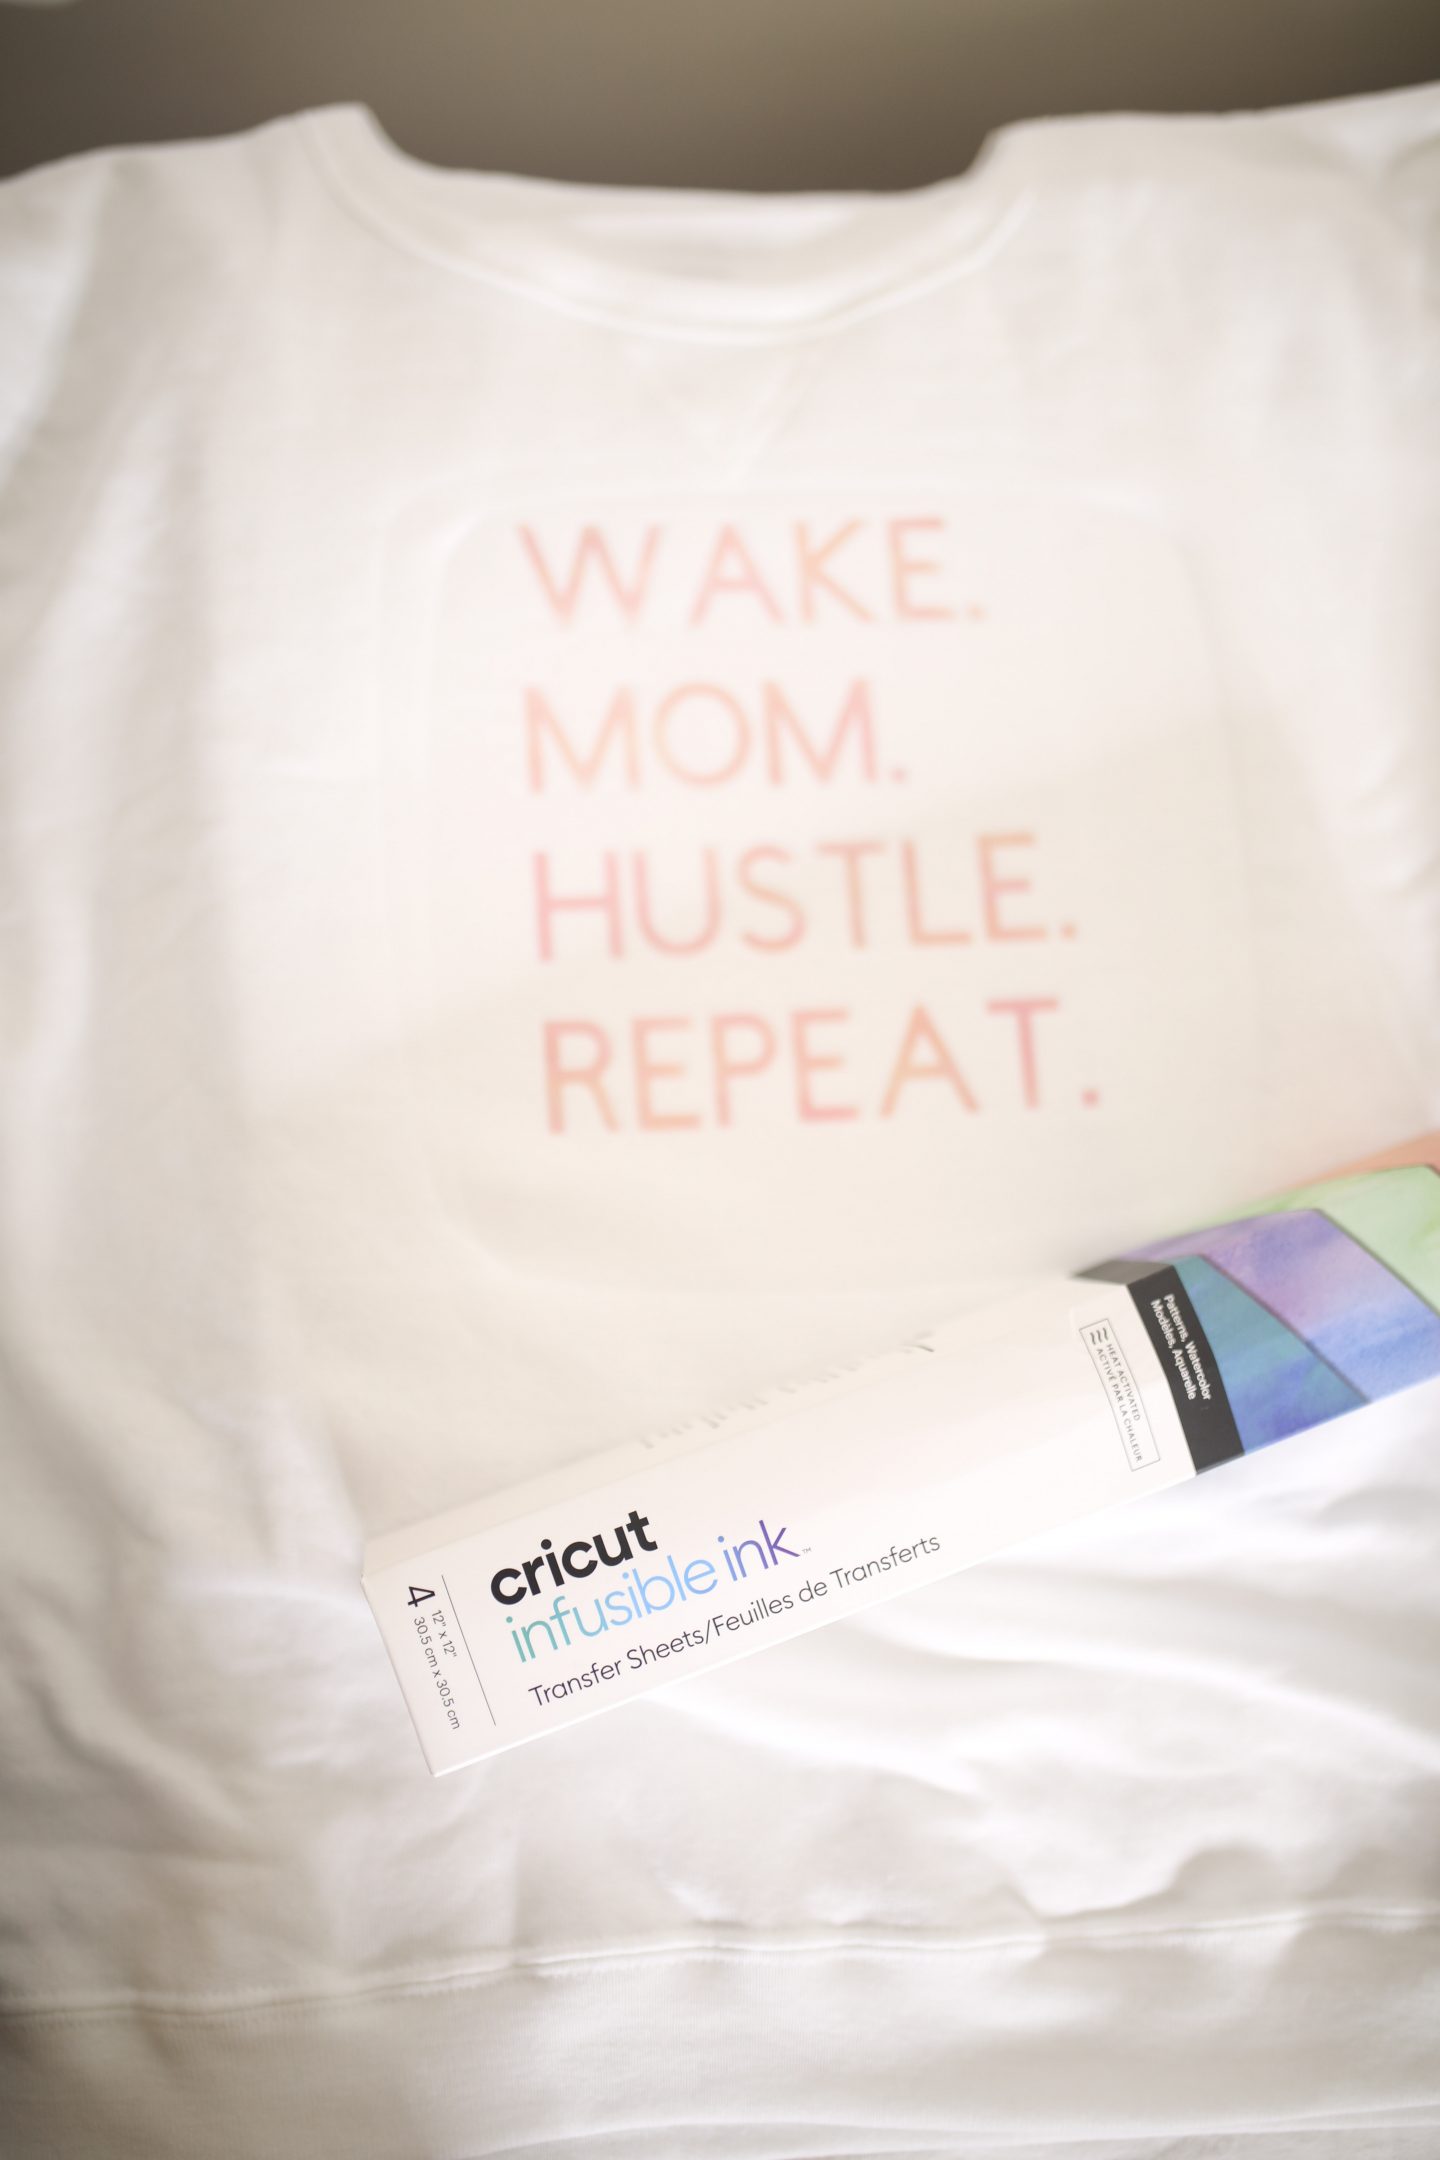
    How to use Cricut Infusible Ink on a Sweatshirt

    Cricut Infusible Ink on a Sweatshirt

    Cricut Products!

    Cricut Beginner Guide: Machines, Tools and Materials You’ll Need

    Cricut Beginner Guide: Machines, Tools and Materials You'll Need
  • Cute Pajama Sets for Women to Look Good at Home

    24 Cute pajama sets for women! ps: This post contains affiliate links.

    Stylish pajama sets for women

    It looks like we’re going to be living this indoor life for a while, and so our indoor wardrobe is getting more attention than our outdoor, well at least mine is. While I do dress up to go to the living room when I’m in the mood for it, most days you’ll find me in sweats or pajamas all day. I wanted to share some cute inexpensive options I’ve seen recently to get through us through the quarantine.

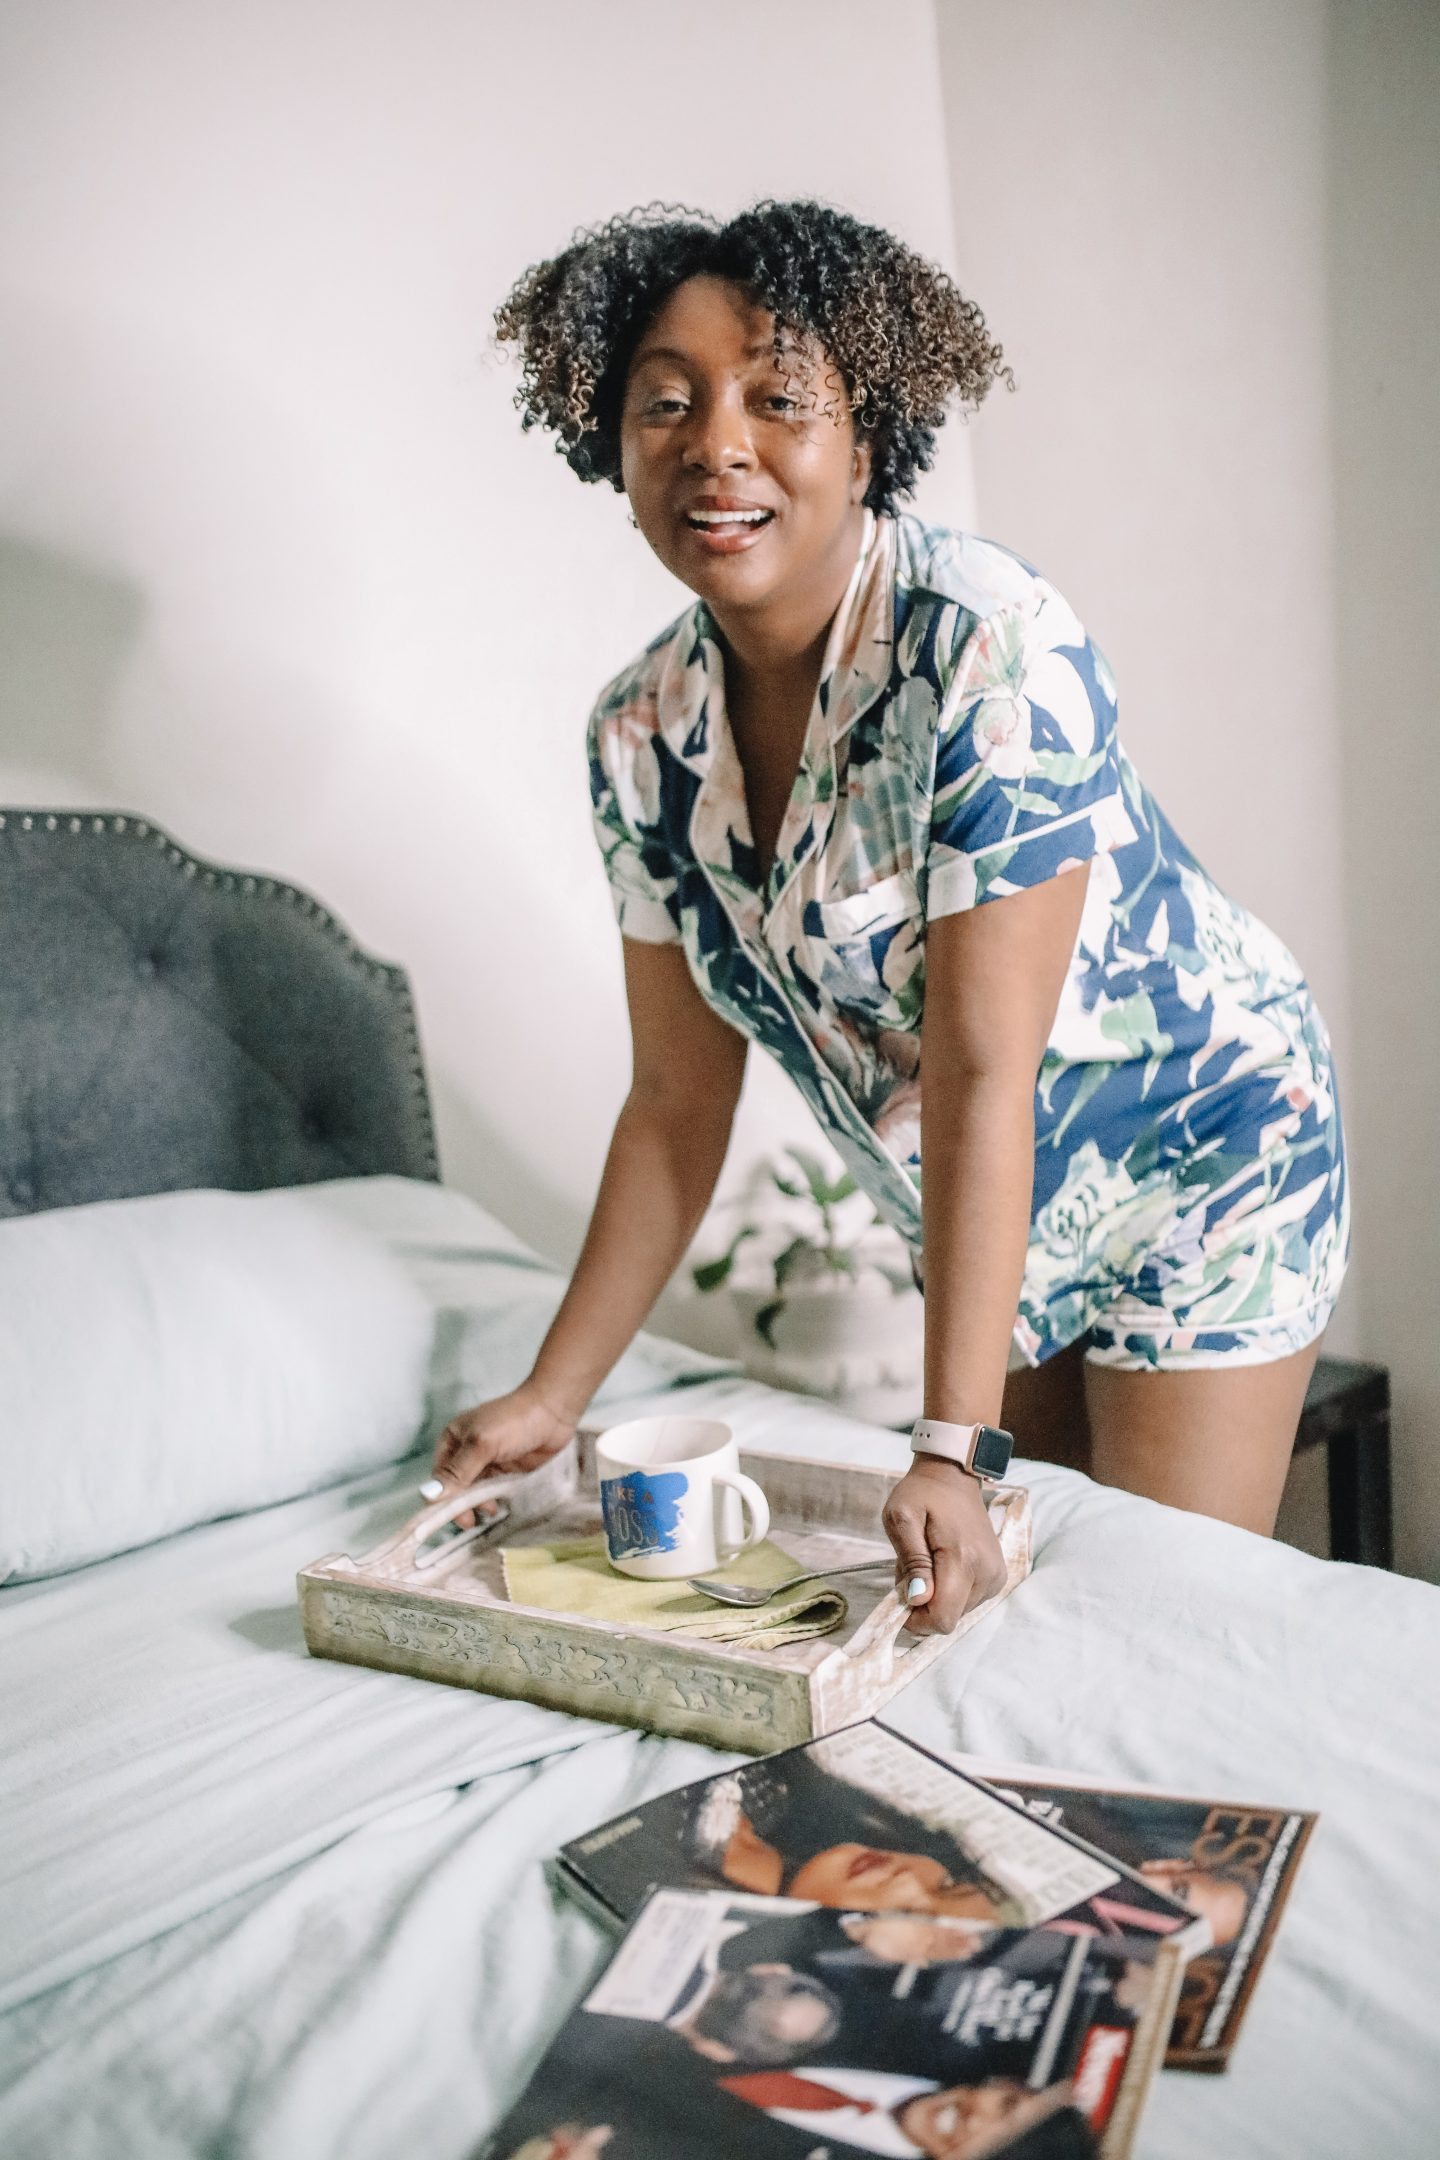
    I found this adorable pair on Target.com, and I thought it was perfect for the spring. Also, Target offers two-day shipping on orders $25+. It’s really soft and comfortable, the shorts are the right length, and the quality is excellent. I ordered the size large, which is my usual size, but I wanted it to be a bit relaxed fitting, and I’m happy it is. This style also comes in plus sizes.

    Here are some great options if you’re looking to add cute pajamas to your wardrobe. These are all budget-friendly so that you can stock up on a few.

    24 Cute Pajama Sets for Women

    Since it’s spring, I’m mostly drawn to the pajama shorts sets, but the long ones that I added are all really stylish too if shorts aren’t your thing.

    Although I’m wearing a pajama set from Target in these photos, my favorite place to shop for pajama sets is ASOS. They have trendy and fun pajamas at affordable prices. Plus, ASOS shipping is fast, and their two-day shipping is affordable at $19 for one year. ASOS is my go-to for almost every occasion or budget.

    As I searched the net for more styles, I found some great options from Boohoo, which I included. I’ve ordered from Boohoo a few times, but their shipping tends to take a bit longer.

    Anyway, I hope you find cute pajama sets that you can enjoy.

    You may also like:

    Screen-Free Activities to Keep Kids Busy While You Work