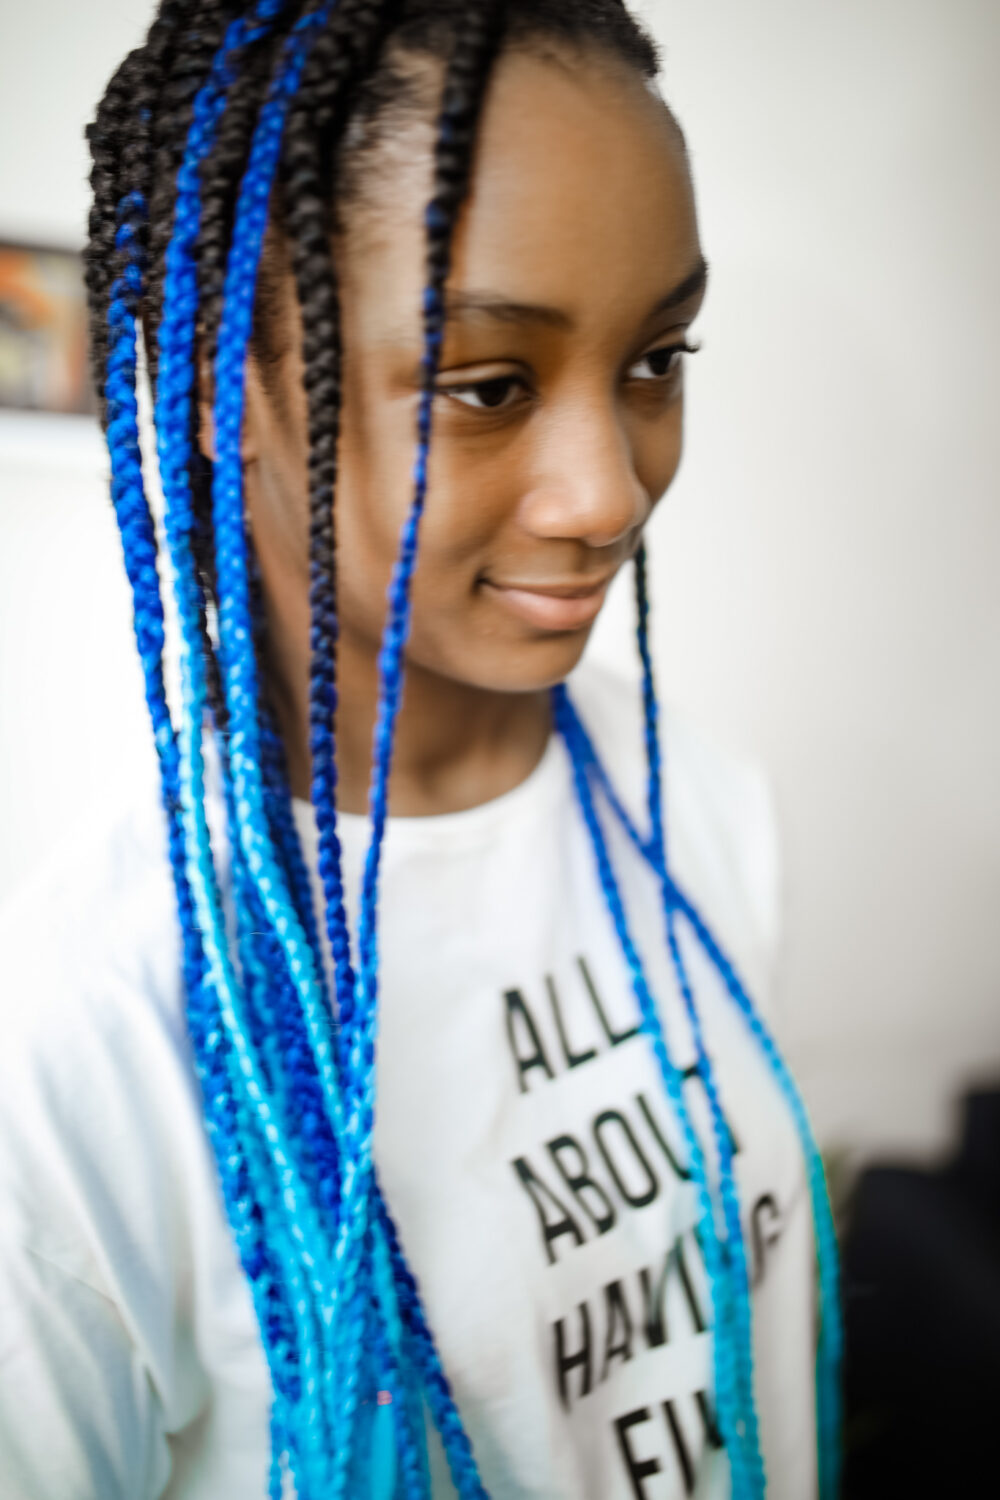
Here’s how to do knotless Braids at Home!
As a mom of three Black kids, I’ve always had the goal to learn to braid but always found it intimidating. When I first tried braiding my older daughter’s hair, she was two years old, and it looks so horrible that I took it out immediately even though it took me an hour and a half to do them. I haven’t given up on myself though, I’ve been pushing through, and quarantine presented me time and the opportunity to practice. My daughter asked last summer for pink and purple braids, and since I didn’t want to damage her hair by coloring it, I decided to try doing her braids with braiding hair. I wanted to ensure that I used a method that wouldn’t damage her hair, so I researched and learned that knotless braids are the healthiest option for her hair. I watched lots of videos to know how to do knotless braids and started trying it. It’s a lot simpler than I thought it would be, and she always loves the results when I do knotless braids at home.
Why Knotless Braids?
Traditionally, braids started with a knot to attach the braiding hair, but this method put lots of pressure on the hair follicles and the scalp. It was also usually done tightly, so the hair doesn’t slip out and looks neater. Knotless braids, as the name infers doesn’t start with a knot. Instead, you start by braiding the real hair and attach the braiding hair at a later point. This removes all of the issues that knot braids can cause, like hair loss, trauma to the scalp, hair breakage, and other issues. Plus, knotless braids are more comfortable for children.

You will need:
- Braiding Hair: You can choose between purchasing synthetic or human braiding hair. I use braiding hair that I buy from Amazon and soaked for one day in Apple Cider Vinegar to ensure my daughter doesn’t break out or find them itchy.
- A fine-toothed comb: I struggle with parting my child’s hair in straight rows for box braids, so a fine-tooth comb aka rat tail comb, is a must-have for me, and I love this one with the metal tail as it gives a clean part. I purchased this packet of three from Amazon.
- Edge Control Gel: Edge control gel is a must-have for me to ensure that hair looks neat and there are no flyaways. I’ve like the Cantu Edge Control and Carol’s Daughter because they give hold without leaving the white residue and crunchiness some other brands leave. I usually order them from Amazon or pick them up at Target.
- Gel: I use the Let’s Jam gel to smooth my daughter’s hair when braiding it; it’s inexpensive and works well.
- Butterfly clamps: I use these butterfly clamps to separate the hair into sections.
- Edge Brush: This small edge brush is perfect for getting shorter hairs and baby hairs in place.
- Blow dryer (optional): Sometimes, I use a blowdryer to stretch my daughter’s hair before doing knotless braids. I use this blow dryer.
- Heat protectant (optional): If you decide to use a blow dryer, I would suggest also using a heat protectant to prevent heat damage. I like the Cantu Heat Protectant and have been using it for a few years now.
- Styling foam: I use this Cantu styling foam while braiding her hair to seal it from frizz and for shine, and I also use it to refresh her braids daily.
- Silk Bonnet, pillow, or scarf: This style will take you a few hours to complete, so be sure to protect the style with a satin or silk bonnet, pillow, or scarf when you sleep that will keep the braids looking fresh.
- Small rubber bands: I add small rubber bands at the ends of all of the braids. Since we use braids with hot water settings, they tend to fall out when we dissolve or fall off after they’re set.
Step-by-Step Instructions
- Wash and deep condition hair: I usually do this the day before braiding her braids to break down the entire braiding process’s length time.
- Detangle hair with a wide-tooth comb or detangling brush (I love this one) and separate hair into sections with butterfly clips.
- Air dry or blow dry hair on low heat settings using a heat protectant product. Whichever option you choose, try to stretch the hair in preparation for braiding.
- Part hair into small equal box sections and divide braiding hair to match those sections’ size. You can purchase one of these braiding hair stands to ensure the hair separated hair doesn’t get tangled.
- I start braiding at the back of her head and work my way to the front.
- Part the hair into sections of the desired style, add edge control gel to the roots of real hair, then begin to braid hair; after about an inch, hold the last piece with one finger and then add the first piece of braiding hair.
- Continue braid until the braiding hair is attached, then add the second piece of braiding hair and continue braiding.
- Add more gel to natural hair as needed; the gel helps prevent flyaways and makes the braid look neat.
- When you’ve completed each braid, add a rubber band to the end to prevent it from unraveling.
- Move on to the next section and repeat.
Knotless Braids Video Tutorial
Still, a little bit intimidated about doing knotless braids at home? or need some further guidance? Check out this video tutorial to see how I do my daughter’s hair. I’ve personally found video tutorials to be most helpful in learning how to do knotless braids.
I recorded the entire braiding process in this video, so I hope it’s helpful to you if you’re new to knotless braids. My daughter loves wearing knotless braids, and this style makes life easier for me as I don’t have to do her hair daily. I’ve notices that her hair has gotten much thicker since we started doing knotless braids.
Also, save this video on how to refresh knotless braids, this method has allowed me the stretch out her braids to last longer while looking neat.
Leave any of your questions below!